
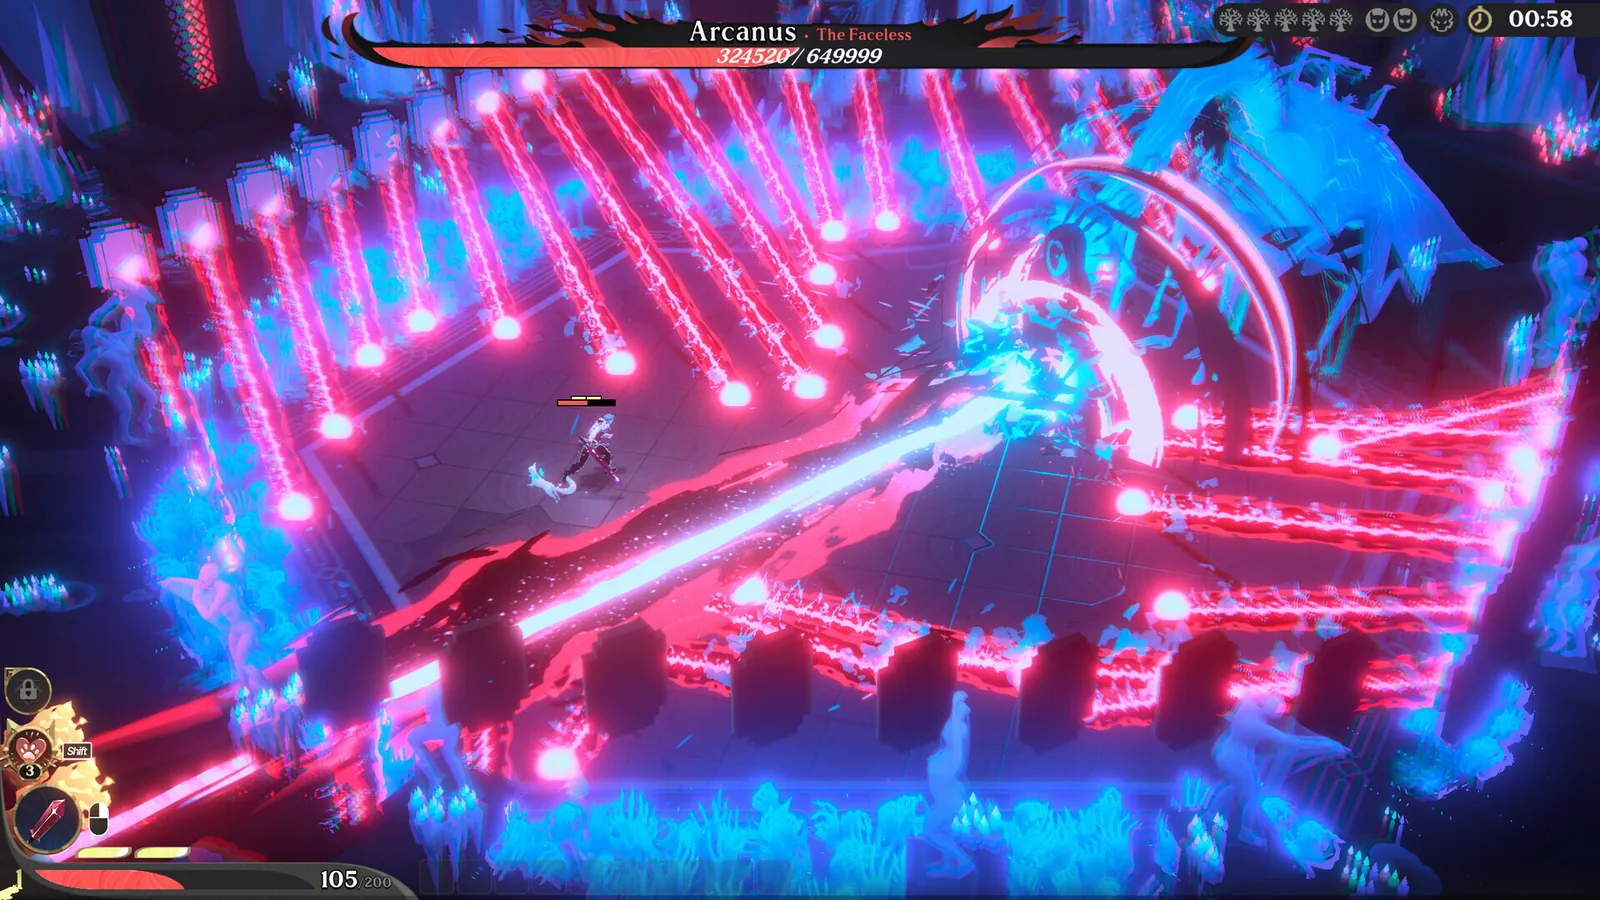
Ember and Blade is a survivors-like that asks you to aim. Enemies arrive by the hundred, but the damage comes from your inputs: which attack you chain into which, how much stamina you are willing to spend on a dash, and where you point a Blessing once an elite drops a link.
That makes the first hour harder than the genre usually is, and it makes the wrong habits expensive later. The three guides below are ordered the way the game tests you.
- Beginner Guide — the first two hours, in the order the demo presents them, including the side quests that weaken the Act 1 boss.
- Combat & Stamina — combo branches, the stamina economy, Flash Counter timing and the Break gauge.
- Demo Guide — what Act 1 contains, how it has changed across three rebuilds, and the one thing that does not carry into the full game.
Controller first
The store page lists full controller support and marks a gamepad as recommended. Every action the game asks for — dash, heavy attack, Flash Counter — is bound to a face button, and the Hammer's charge attacks hold one down while you move.
What the guides assume
They assume you have the demo open, not that you have finished the game. Nothing here is written from a completed Early Access build, because there is not one yet: the game unlocks on PC in January 2027, and everything playable today is Act 1.
What the HUD already tells you
The interface answers more than the tutorial does. A stamina gauge sits with the health bar, and an exhaustion marker appears beside it the moment the gauge empties — the game is telling you which of the two bars actually ended the run.
Boss-tier enemies get their own second bar: the Break gauge, drawn under the health bar. Draining it is what opens the damage window, and a boss fight that feels unwinnable is usually a fight where the second bar was never touched.
Two smaller pieces of information carry more weight than they look. Link icons on the minimap were changed to gear symbols in Demo 2.1 so you can see which action an elite is carrying before you commit to killing it, and currency amounts in dialogue now come with icons, which removes the guesswork about whether a reward is Amber or Blood Crysts.
After the first two hours
Once Act 1 stops killing you, the Blessings page is the next read: it explains why the same Blessing behaves differently when it is linked to a dash instead of a heavy attack, and which angel sets are worth chasing. The weapons page covers what the other three planned weapon types are likely to ask of you, based on the three the demo hands over.